Article by Chris Pearman
As warmer weather arrives, shorts, sandals, tank tops, and other warm-weather clothing become more common across campus. While these clothing choices may be comfortable outdoors, they are not appropriate in laboratory spaces where chemical, biological, physical, or other research hazards may be present. Environmental Health & Safety reminds all laboratory workers, students, visitors, and research groups that seasonal clothing changes do not change laboratory PPE and attire expectations.
Why Lab Attire Matters
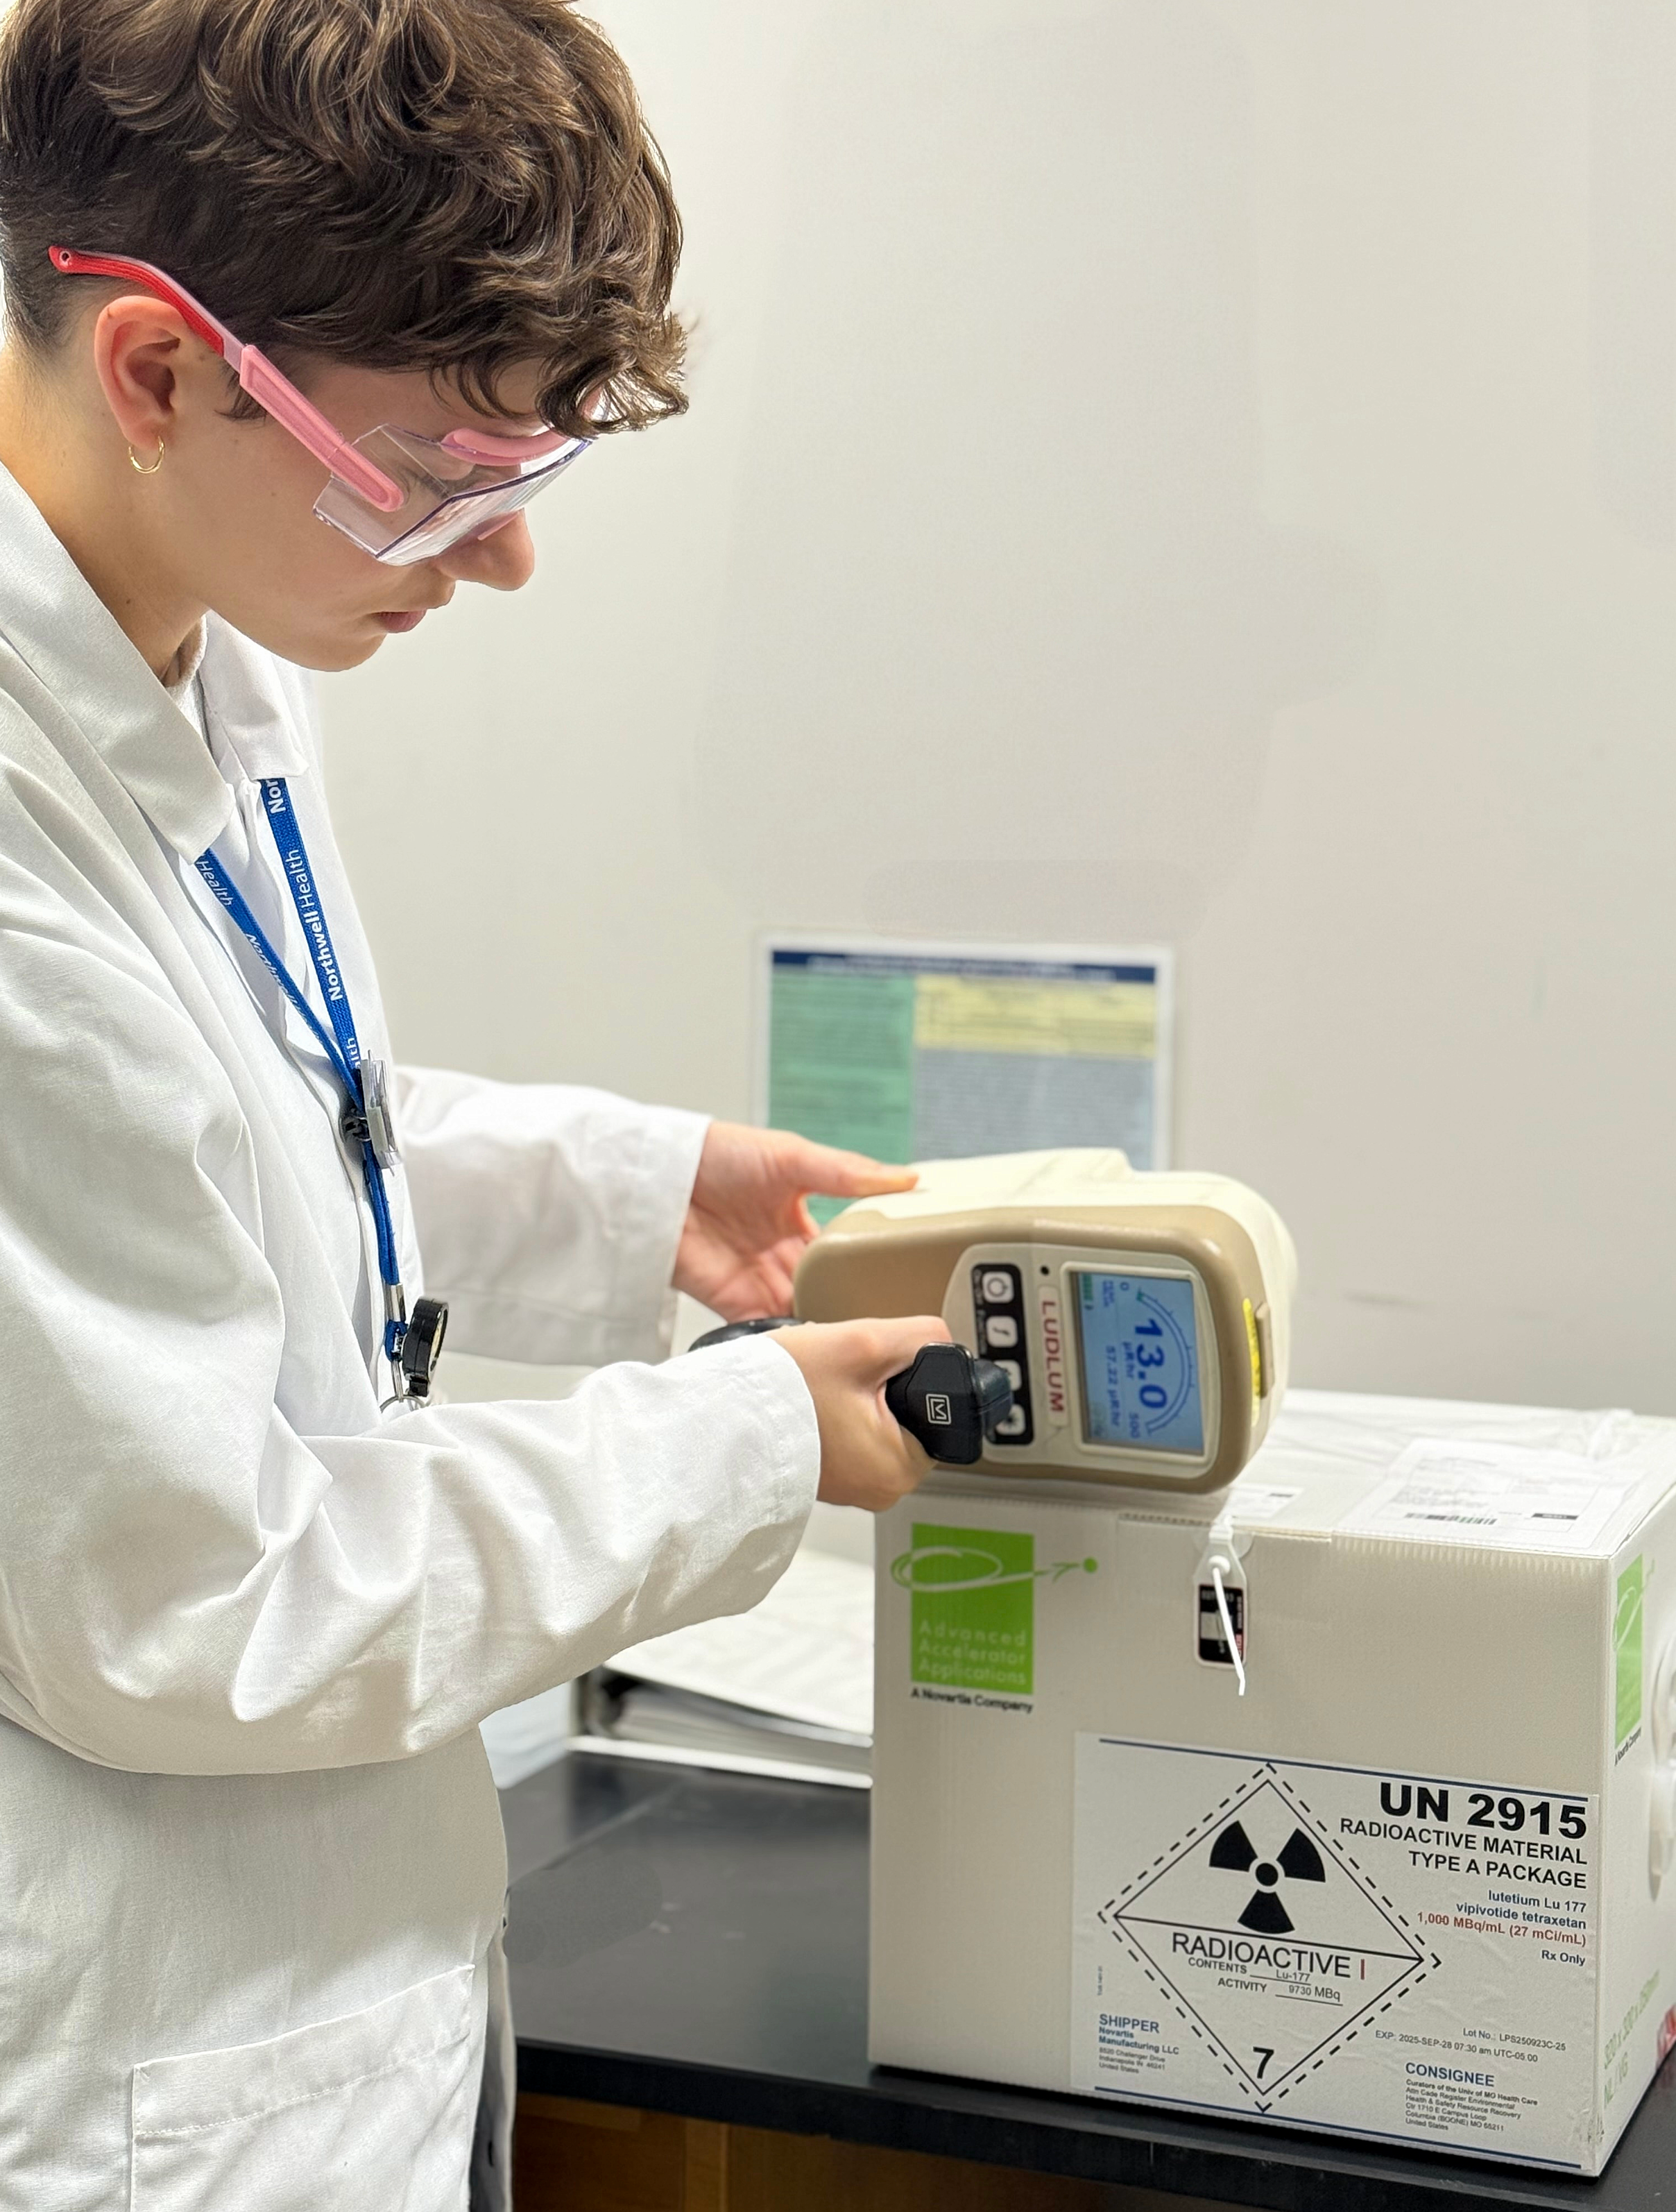
Laboratory attire is an important part of personal protective equipment compliance and laboratory safety. Exposed skin below the waist, open-toed or open-heeled shoes, and sleeveless shirts can increase the risk of injury from spills, splashes, broken glass, sharps, contaminated surfaces, dropped materials, heat sources, or other laboratory hazards.
Minimum Attire Expectations
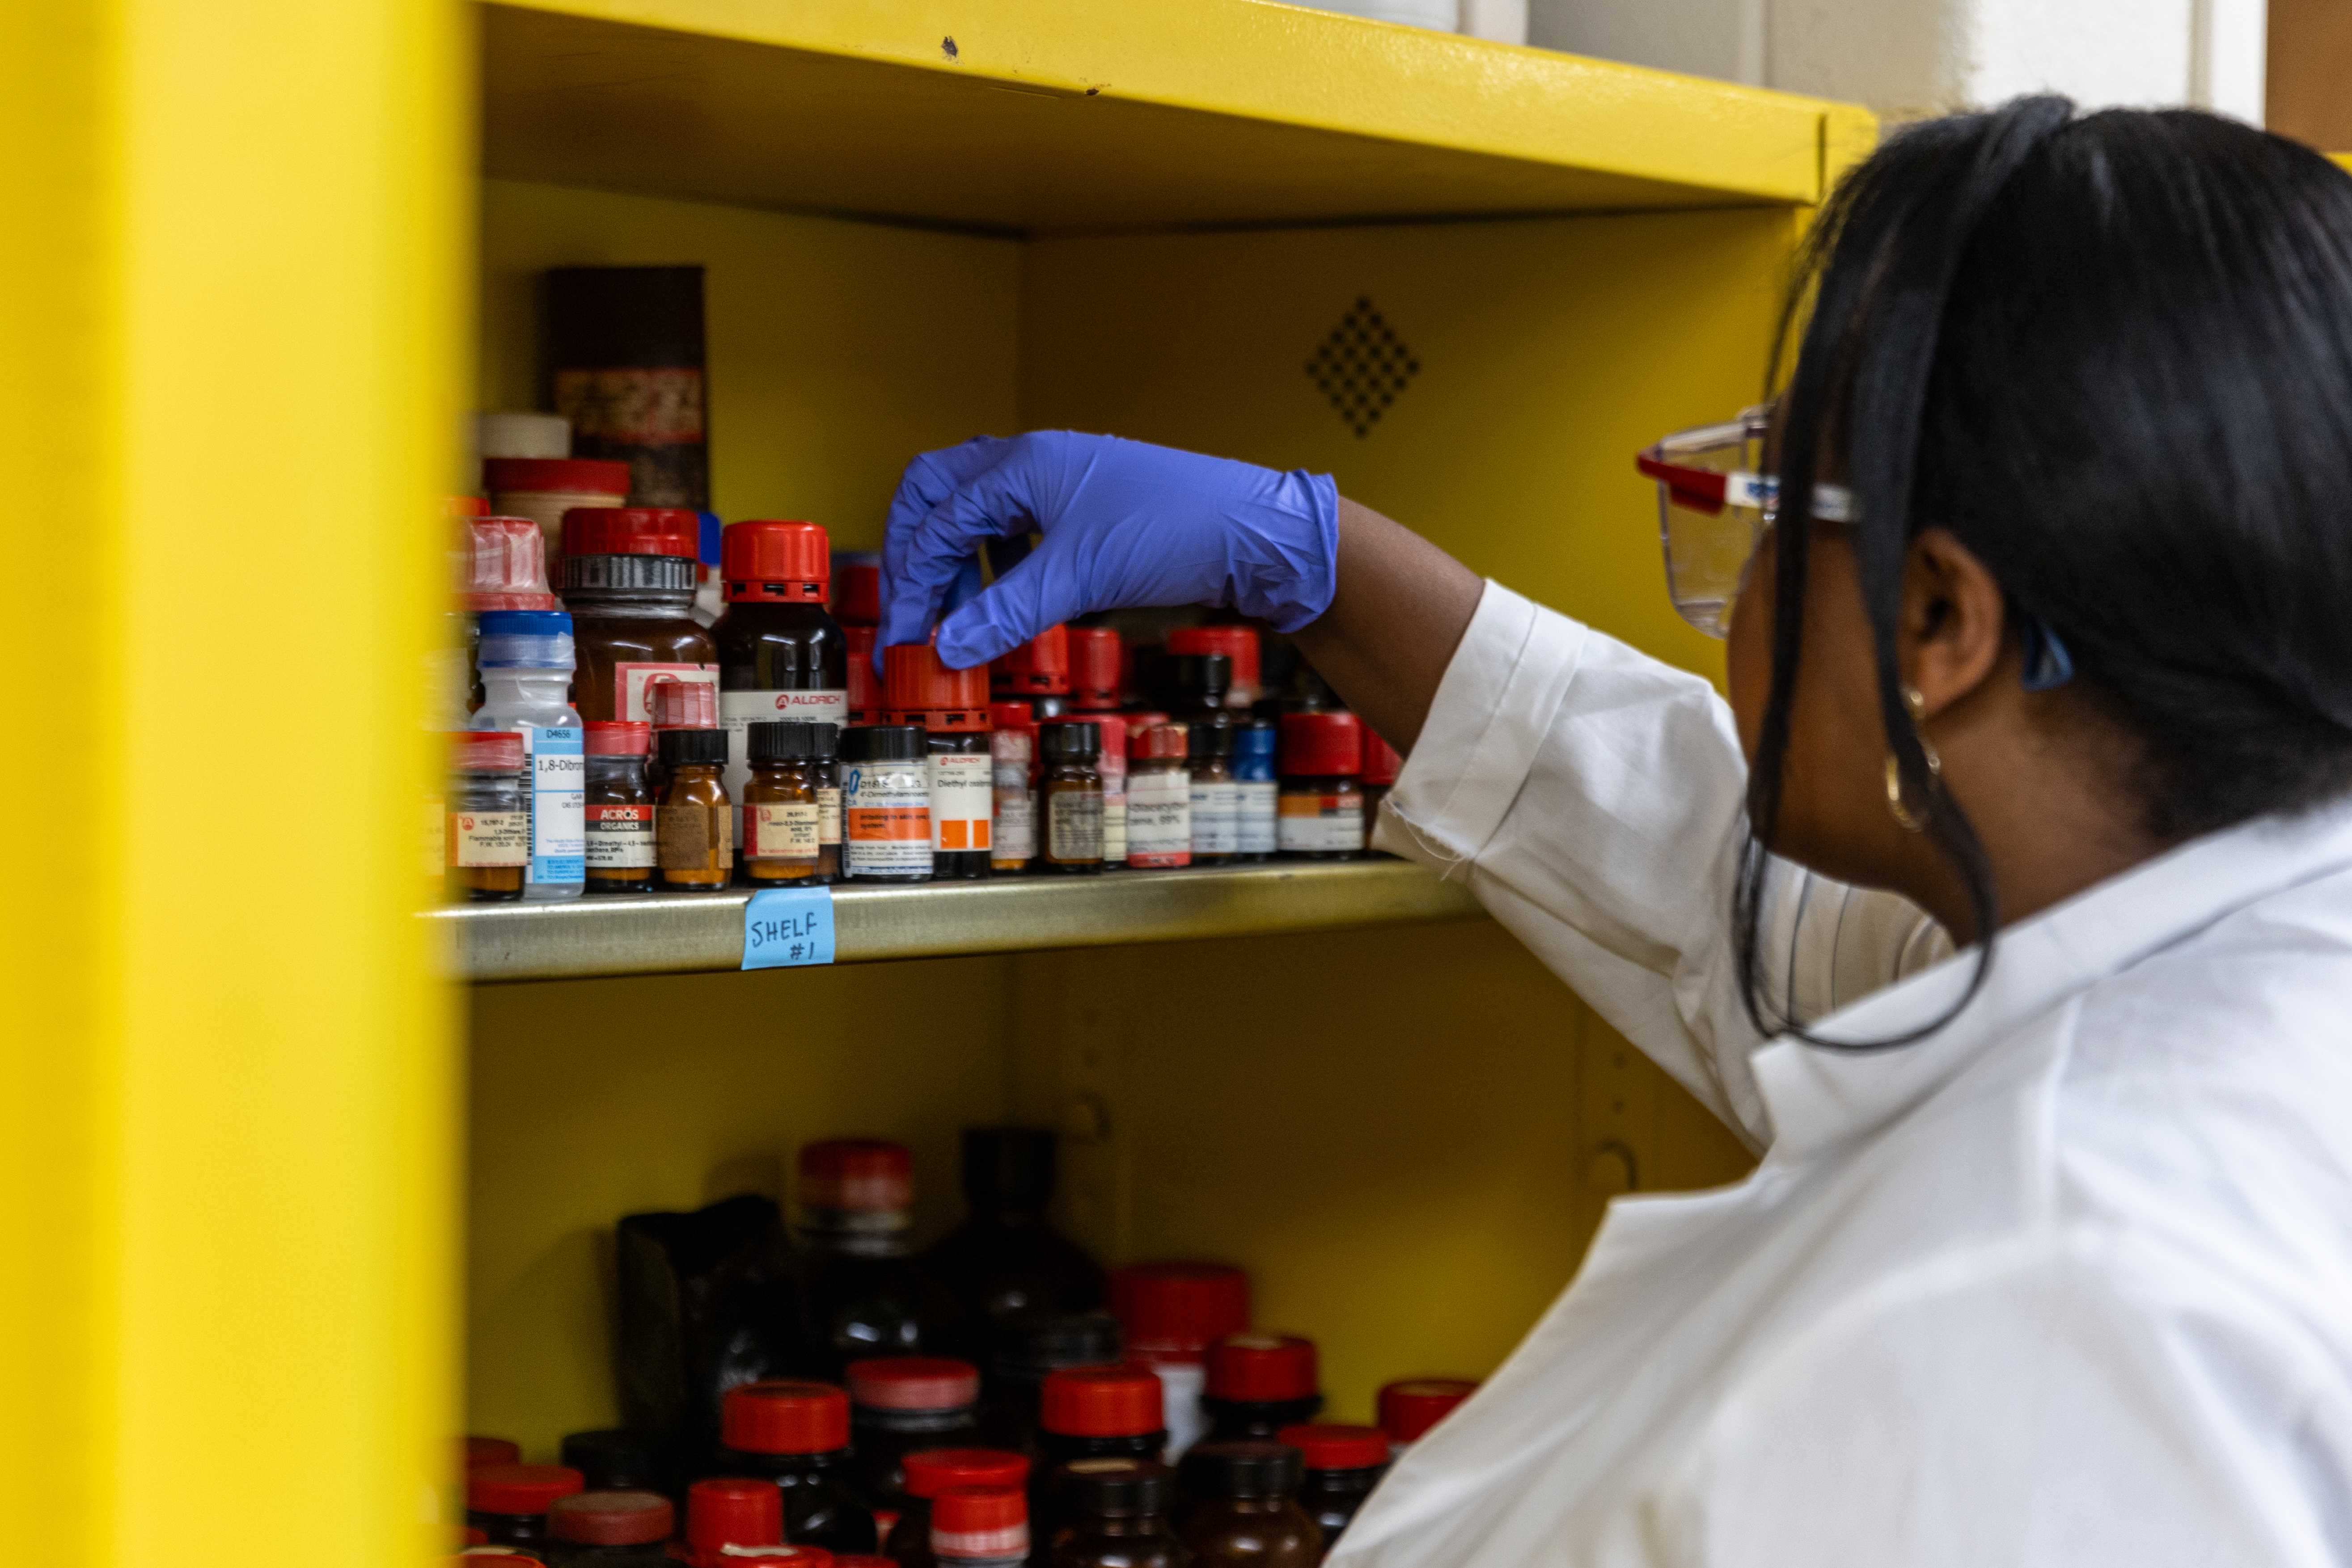
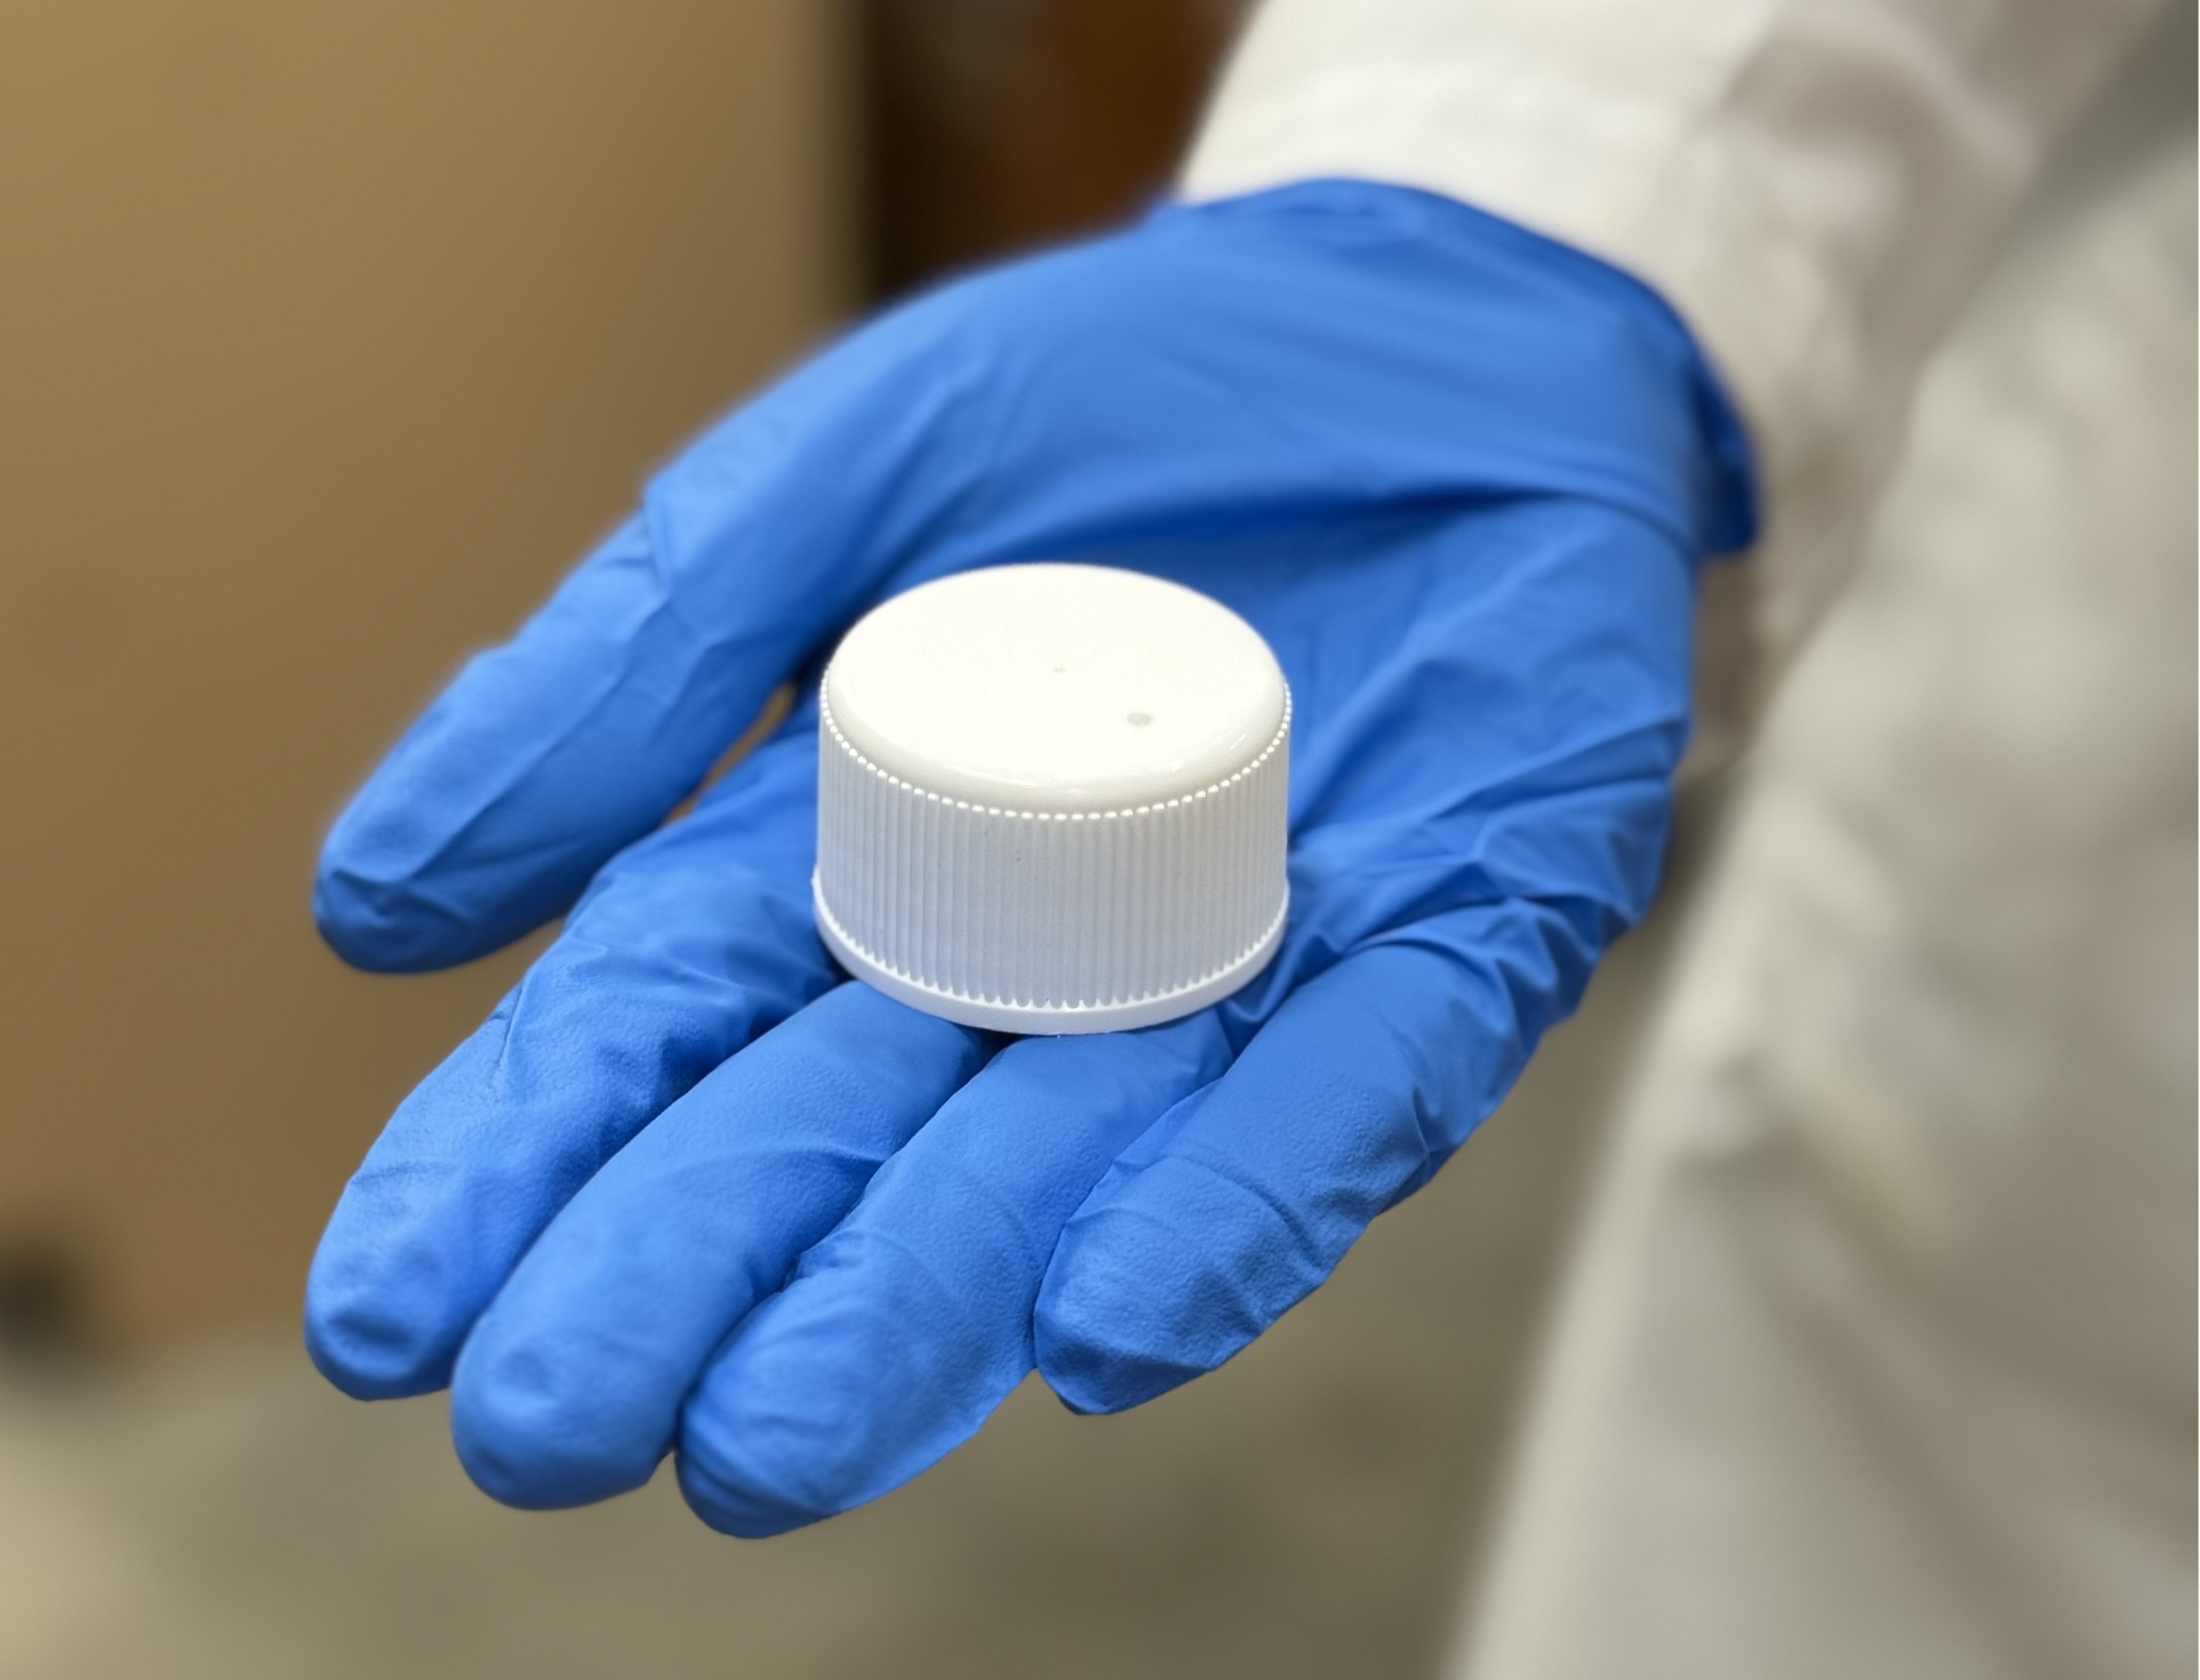
At a minimum, individuals entering laboratory areas where hazards are present should wear full-length pants or equivalent leg coverage, closed-toe and closed-heel shoes, and clothing that provides appropriate coverage for the work being performed. Lab coats, protective eyewear, gloves, and other required PPE must also be used when working with, or around, hazardous materials or processes.
Lab coats, protective eyewear, gloves, and other required PPE must also be used when working with hazardous materials or processes.
Plan Ahead and Use Available Resources
EHS encourages research groups to plan ahead as campus transitions into the warmer months. If students, staff, or researchers may need to enter a lab later in the day, they should bring appropriate lab attire or keep dedicated lab clothing available. Principal investigators and lab supervisors are also encouraged to discuss expectations with their teams, especially with new students, summer researchers, visiting scholars, and temporary personnel who may be less familiar with laboratory dress requirements.
To help reinforce these expectations, EHS has developed a PPE Compliance Guide that laboratories can post in visible areas near entrances, work spaces, or common areas. The poster provides a quick visual reminder of appropriate laboratory attire and PPE expectations, including proper clothing, footwear, eye protection, and lab coat use. Posting this reminder can help research groups communicate expectations before someone enters the lab and support a consistent safety culture across campus.
Appropriate PPE and lab attire are simple but important ways to reduce risk. As the weather warms up, please take a moment to review your lab’s expectations, remind your team of minimum PPE requirements, and use the EHS PPE Compliance Guide as a practical tool to support daily compliance.
For questions about laboratory PPE, appropriate lab attire, or posting PPE expectations in your research space, contact Environmental Health & Safety at (573) 882-7018.