This tutorial is intended to help users enter newly created RAM waste containers into EHSA or to add new inventory to a pre-existing waste container. Whenever a new RAM waste container is opened, it is required to be added to EHSA so that EHS staff can track RAM inventory. When a RAM waste container is full, or it has been 12 months since it's open date, users can request EHS to pickup RAM waste from the lab for disposal.
Creating a New RAM Waste Container
STEPS
- Login into EHSA.
- If you're a first time user, click here to find a guide on how to get registered on EHSA.
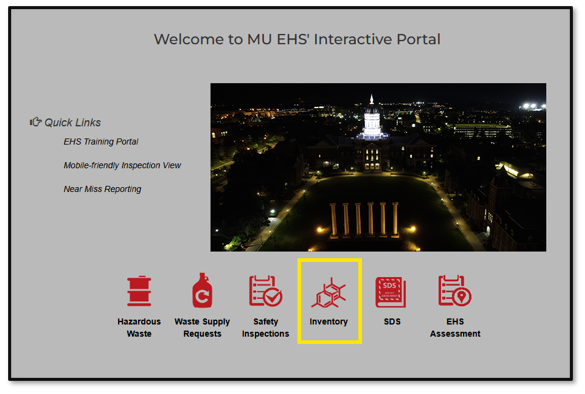
Click on the inventory icon.
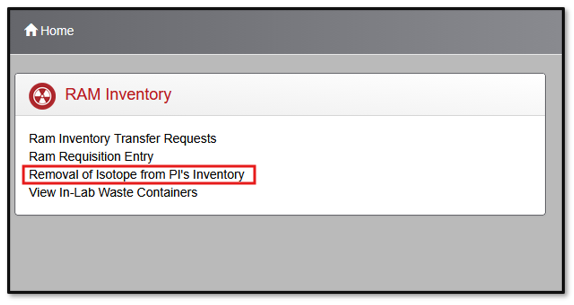
Click on "Removal of Isotope from PI's Inventory".
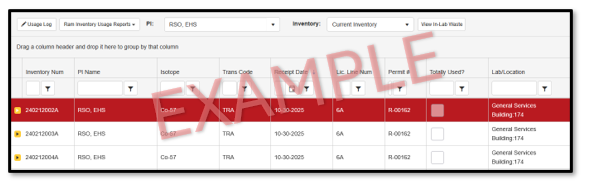
Highlight the isotope that you are disposing of as waste by clicking on the line. The line should be highlighted red.
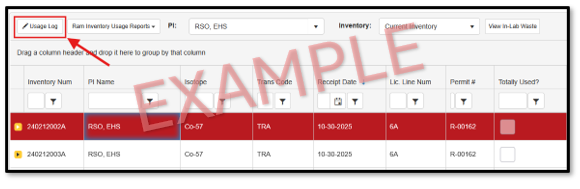
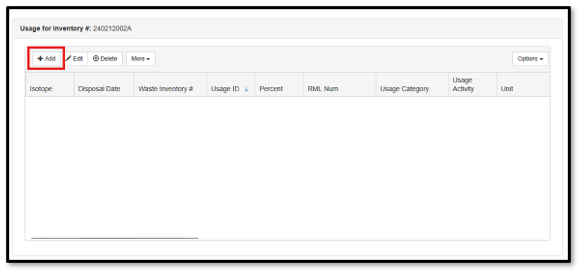
Click on the "Usage Log" button in the upper left corner.
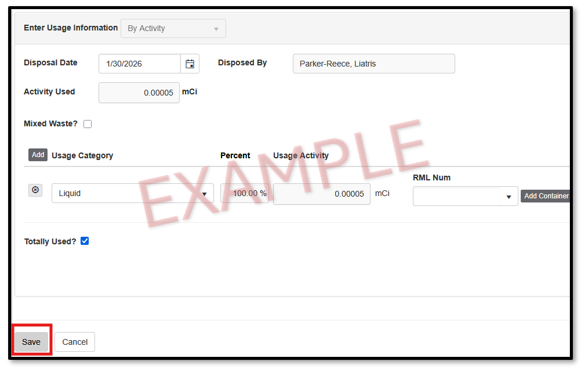
Click on the "+Add" button to add a usage.
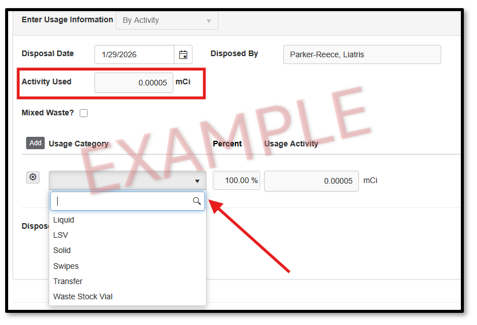
Enter the activity used and usage category.
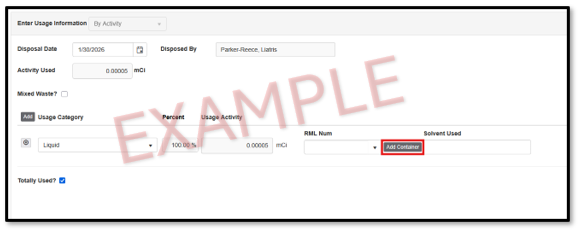
Click "Add Container".
Enter the HML number on the RAM waste container under "Container #".
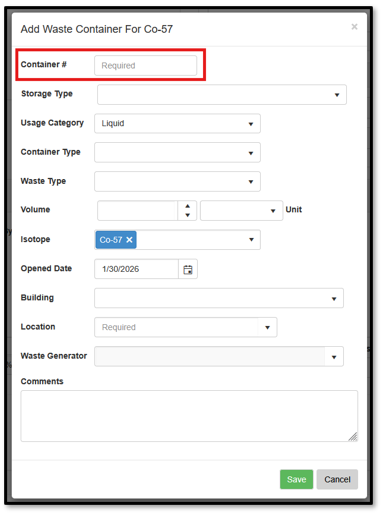

Select the correct container type and add volume, building, and location of container.
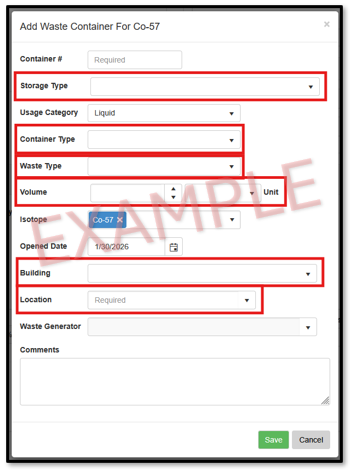
Click "Save".
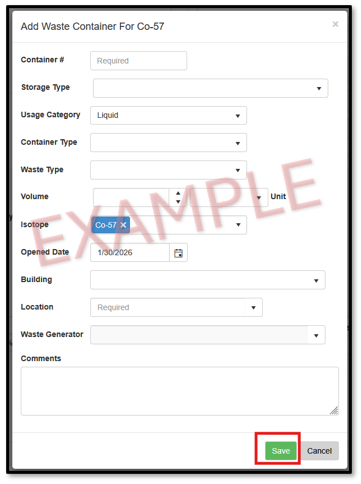
- You have now added a RAM waste container to EHSA!
Adding Waste to an Existing Container
STEPS
- Completing to steps 1-7 of the Creating a New RAM Waste Container tutorial.
Instead of clicking "Add Container", go to the dropdown menu and search for the HML number of the pre-existing container.

Click "save".
- You have now updated the waste container inventory!
Page last updated January 30, 2026.